
A set of titanium knife scales comes off the machine, every dimension in tolerance, and the customer rejects them anyway. Under a shop light they look fine. Held up to a window, turned slowly, they show it: a faint regular banding across the contour, the width of a stepover, catching the light in a way nothing else on the knife does.
Then comes the expensive part. The parts go into the tumbler, they come out with the marks still there, and somebody suggests a longer stone-wash. Five hours later the marks are still there, because stone-washing was never going to remove them.
This is one of the most common failures in titanium work, and it is almost never a machine problem. This article is what causes it, why the usual rescue does not work, and the finishing parameters that stop it happening again. It is written from a job we got wrong ourselves, on 800 sets of Ti-6Al-4V scales for a customer we had been supplying for five years.
Why titanium marks when aluminium does not
Three properties of Ti-6Al-4V combine against surface finish, and each one matters more at the finishing pass than at roughing.
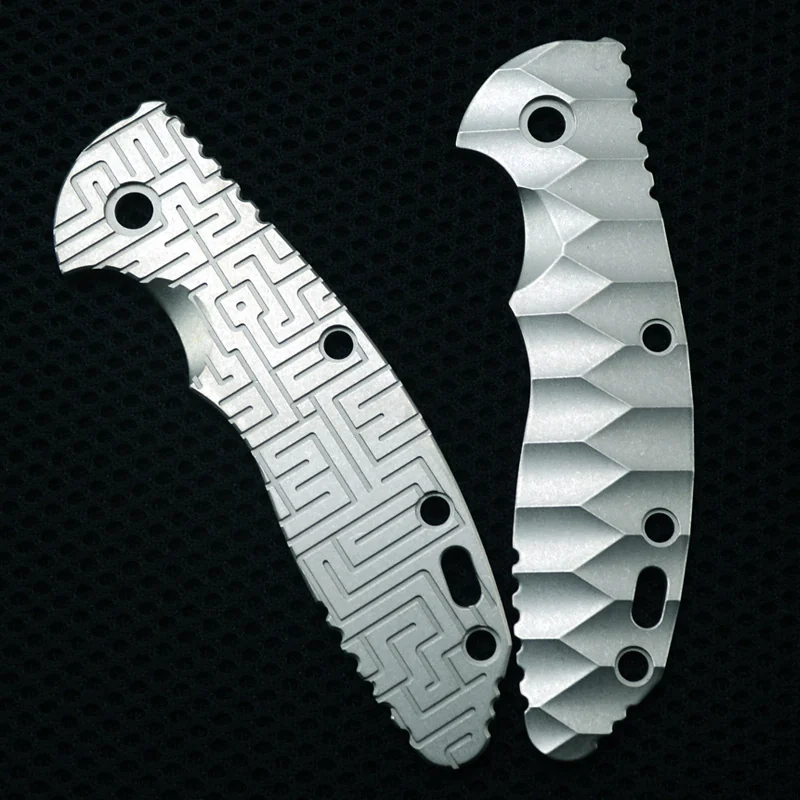
It springs back under the cutter. Titanium’s elastic modulus is roughly half that of steel — around 114 GPa against about 200 GPa. At a light finishing depth the material deflects away from the edge, then relaxes back behind it. Take too fine a cut and the edge stops cutting and starts rubbing: it burnishes and work-hardens the surface instead of removing it, and the next pass has a harder skin to get through. In titanium there is a minimum chip thickness below which things get worse, not better — which is why “just take a lighter cut” is the wrong instinct here.
It does not carry heat away. Thermal conductivity is about 7 W/m·K, roughly a thirtieth of aluminium’s. The heat of cutting has nowhere to go except into the chip and the cutting edge. The workpiece stays cool while the edge cooks, so the tool wears far faster than the part surface suggests, and a cutter that still looks usable can already be leaving a different surface than it did an hour ago.
It sticks to the tool. At cutting temperature titanium is chemically reactive with most tool materials. Chips weld to the edge, build up, break away and take a piece of coating with them. Every one of those events leaves a mark on the part, and they do not repeat evenly — which is why the defect often looks random on one part and banded on the next.
The mistake behind most of it: one cutter doing two jobs
The single most common cause of tool marks on titanium is using the same cutter to rough and to finish. It is an easy decision to make. Roughing and finishing with one tool saves a tool change, saves a few minutes per part, and in aluminium it usually gets away with it.
In titanium it does not, for the reasons above. By the time the cutter has removed the bulk of the material its edge is no longer the edge that was ground. It is a slightly rounded, slightly built-up edge, and a rounded edge on a springy material does not cut cleanly at finishing depths — it rubs. The finish pass, the one operation whose entire purpose is the surface, is performed by the most worn tool in the cycle.
That is exactly what we did, and it is why the marks appeared on a job that was otherwise running perfectly to size.
Why stone-washing and blasting will not save you
Both are widely believed to hide machining marks. Neither does, and knowing why saves hours of wasted rescue work.
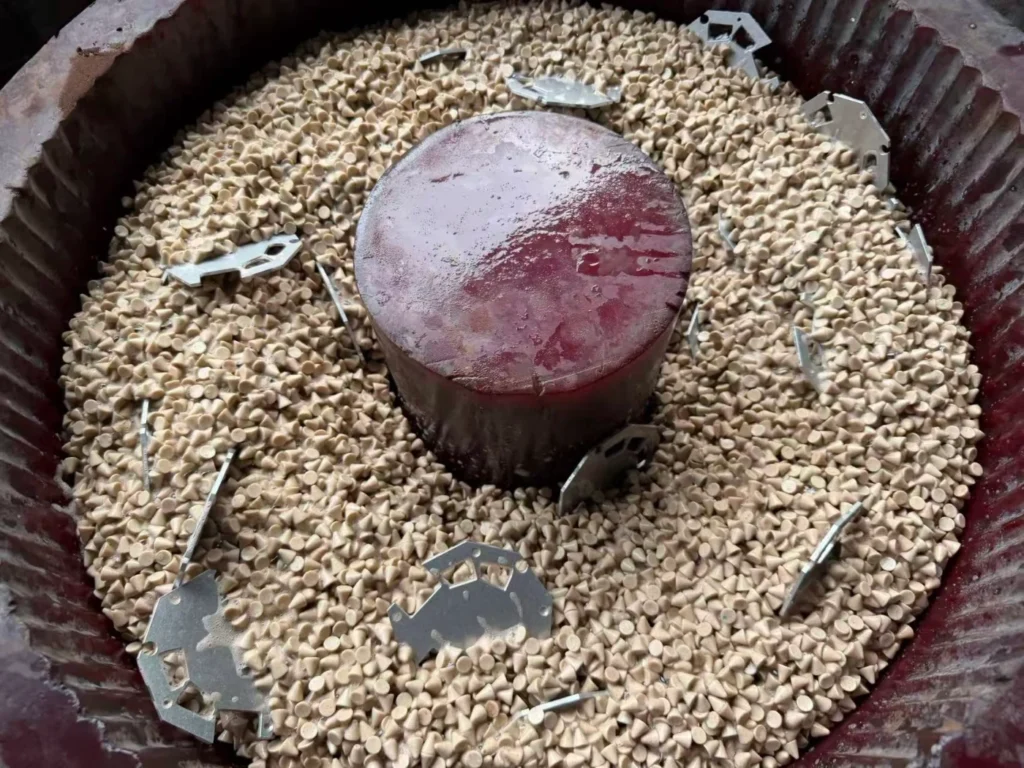
Stone-washing removes almost no material. A vibratory or tumble process with media rounds edges and knocks back high points measured in microns. A machining cusp pattern is a systematic geometry across the whole face, not a few high points. Tumbling changes how the surface scatters light, so the marks look softer in the shop — then reappear the moment the part is tilted under a directional light, which is exactly how a customer looks at a knife.
Blasting changes texture, not geometry. Bead or grit blasting gives a uniform matte finish that genuinely does disguise fine random scratches. It does not disguise a periodic pattern, because the periodicity survives underneath the texture and the eye is extremely good at spotting regular repetition.
The rule worth remembering: post-processing can change the character of a surface, but it cannot remove geometry. If the marks are geometric, they have to come off before finishing starts.
The finishing recipe
These are the parameters we run on Ti-6Al-4V scales and similar contoured titanium parts. They are a starting point for a rigid setup, not a universal answer — your machine, holder and part stiffness all move them.
| Parameter | Finishing value | Why |
|---|---|---|
| Stock left for finishing | 0.2–0.3 mm | Enough that the finishing edge is cutting real material rather than rubbing on a work-hardened skin |
| Cutting speed | 40–60 m/min | Above this the edge temperature climbs fast and the coating goes; titanium punishes surface speed more than feed |
| Feed per tooth | 0.03–0.05 mm | Below roughly 0.03 mm you are under minimum chip thickness and burnishing rather than cutting |
| Axial depth of cut | 0.1–0.2 mm | Light, but not so light that the tool rides on springback |
| Radial stepover | ≤30% of diameter (flat) · 0.1–0.15 mm (ball) | The cusp height a ball leaves is set by stepover; this is the number that decides whether a pattern is visible at all |
| Cutter | High-helix, variable-pitch, AlTiN-coated, dedicated to finishing | Variable pitch breaks up chatter harmonics; a dedicated cutter never sees roughing wear |
| Holder | Shrink-fit or hydraulic, shortest possible overhang | Runout and overhang show up directly in the surface on a springy material |
| Direction | Climb milling | Conventional milling in titanium starts the cut with rubbing, which is the exact failure mode here |
| Coolant | High pressure, through the tool | The only practical way to get heat out of a cut that will not conduct it |
| Final pass | One spring pass at the same numbers | Removes what deflection left behind on the pass before |
Workholding: the half of the problem nobody photographs
Perfect parameters on a part that moves will still produce marks. Knife scales are thin, contoured and awkward, and if they lift or drum even slightly, the chatter shows on the visible face.
What works: a form fixture that supports the underside of the contour, or a vacuum plate for flat-backed scales, with clamping away from the machined area. What does not work: clamping on two ends and machining the unsupported middle, however light the cut. If the finish is the point of the operation, the fixture is part of the finishing strategy, not a separate decision made earlier.
Rescuing parts that are already marked
If the parts already exist and scrapping them is not an option, marks have to be removed mechanically before any texture is applied. This is slow, it is manual, and it is worth knowing how much it costs before you agree to it.
- Abrasive, in sequence. Hand sanding 240 → 400 → 600, following the contour, never across it. Vibratory or magnetic finishing can do some of this on simpler geometry, but a contoured scale usually needs hands.
- Get to roughly Ra 0.8 µm before you texture anything. If you can still see the pattern under a directional light at this stage, blasting will not fix it — go back to the abrasive.
- Then blast, coarse before fine. 80–120 grit to establish the texture, then a finer pass to even it out.
- Then stone-wash, one to two hours. Now it is doing the job it is good at — softening edges and giving a worn, even character — instead of being asked to remove geometry it cannot reach.
Done properly this rescues the parts. It also takes several days on a batch of any size, which is why the first piece matters so much more than the process sheet.
What to check on the first piece
Two minutes at the machine, before the batch runs:
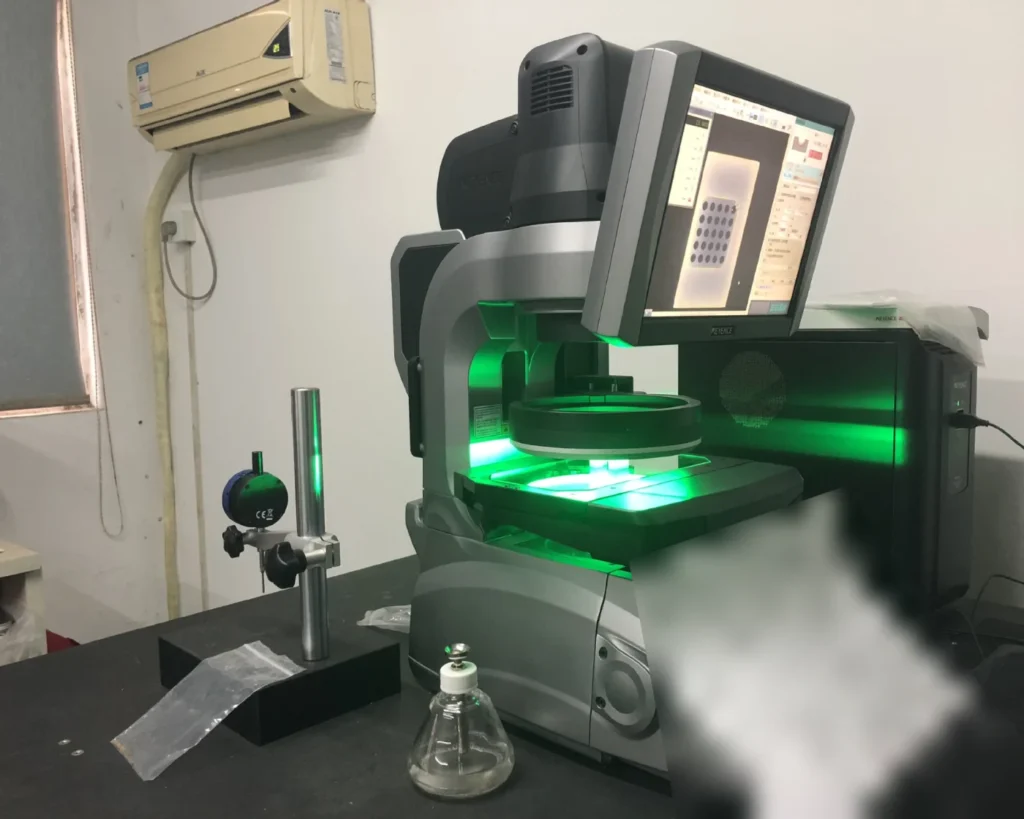
- Take the part to a window or a directional lamp and tilt it slowly. Shop overheads are diffuse and will hide exactly the defect you are looking for.
- Run a fingernail across the contour, not along it. A cusp pattern you cannot see at arm’s length is often obvious to a nail.
- Look at the finishing cutter under magnification, not just the part. A built-up edge on the tool is the defect arriving before it has been machined.
- If the part will be anodised or coated, remember that anodising follows the surface faithfully — and a colour anodise on titanium will often make a pattern more visible, not less.
What this cost us
Two models, 400 sets each, for a US knife brand who had been buying from us for five years. We found the marks ourselves, told the customer rather than shipping and hoping, hand-sanded and re-finished the first batch, and delivered five days late with a discount we paid for. They are still a customer.
The fix, once we stopped trying to save a tool change, cost a few minutes per piece. That is the whole lesson: on a cosmetic titanium part, the finishing pass is not the last operation in the cycle. It is the operation the customer actually buys.
We machine titanium, stainless, aluminium and brass in Dongguan, China — 3- and 4-axis milling, turning and EDM. If you have a titanium part that has to look right as well as measure right, send the drawing for a free DFM review and we will tell you where we think the finish risk sits before you order. There is a fuller write-up of this job in our case studies.