
The part measures perfectly in the vice. You release the clamps and it moves — a plate that bows, a frame that twists, a face that was flat five seconds ago and now rocks on the surface plate. Or worse: it ships flat, and the customer measures it a week later and it is not.
Thin-wall aluminium is where a lot of otherwise good machining goes wrong, and the reason is that most of the causes have nothing to do with the cutting. You can have the right cutter, the right feeds and a machine in perfect condition and still produce a bent part, because the distortion was already in the material before the first pass.
There are three separate causes, they need three different answers, and the most expensive mistake is treating them as one problem.
Cause 1: the stress was already in the plate
Rolled plate and extruded bar are not stress-free. Rolling, quenching and straightening leave the material with internal stresses that are in equilibrium as long as the block is intact. Machining breaks that equilibrium: every pocket you cut removes material that was holding part of the balance, and the remaining metal relaxes into a new shape to find a new one.
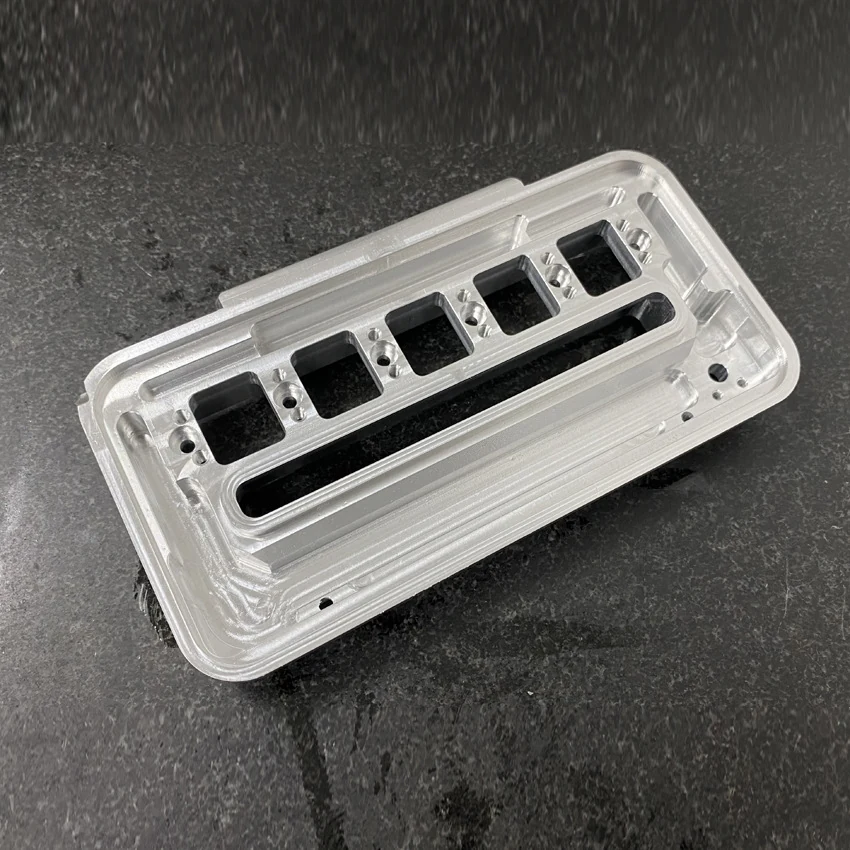
This is why a part can come out flat, sit overnight, and be bowed in the morning. Nothing moved it. It was still settling.
It is also why this cause cannot be fixed with feeds and speeds. A sharper cutter and a lighter pass do not remove stress that was in the stock before it arrived.
What actually helps:
- Start from stress-relieved material. For flat parts that must stay flat, cast tooling plate such as MIC-6 or ATP-5 is far more stable than ordinary rolled plate, because it is cast and stress-relieved rather than rolled. It costs more per kilo and it is usually cheaper than the scrap.
- Machine symmetrically. Take material from both sides in stages rather than hollowing one face completely and then flipping. An asymmetric cut is an asymmetric release of stress, which is exactly a bow.
- Rough, release, then finish. Rough with 0.5–1 mm of stock left, unclamp the part and let it move, then re-fixture lightly and finish. The part relaxes while it still has material to correct it with. This is one extra operation and it is the single most effective thing on this page.
Cause 2: the fixture bent it, and you machined the bend in
This one is almost invisible because everything looks right while it is happening. A slightly bowed plate goes into the vice, the clamps pull it flat against the fixture, you machine a perfectly flat face on a part that is being held bent, and when the clamps open the part springs back — now with a curved face.
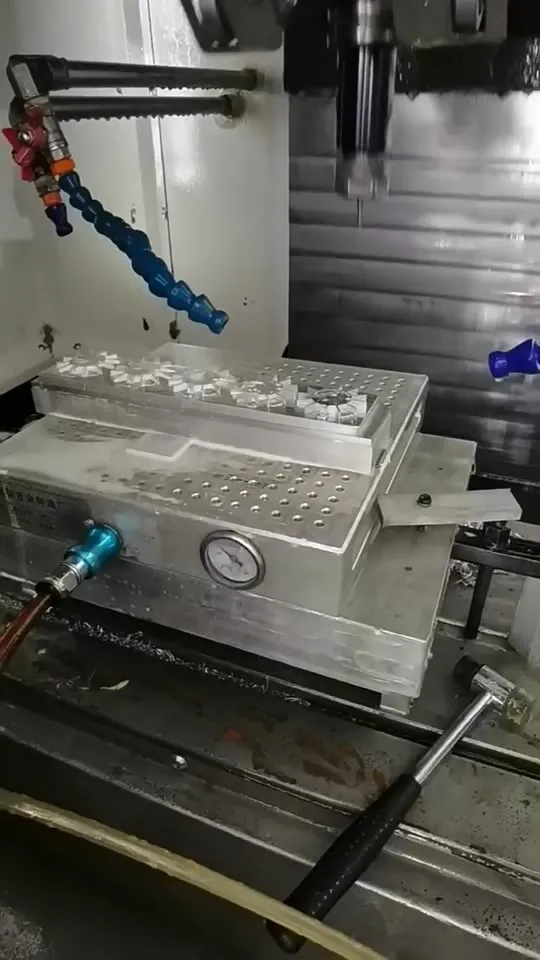
The tell is easy to recognise: the error changes when you re-measure the part clamped versus free. If a part is in tolerance in the fixture and out of it on the bench, this is your cause.
What actually helps:
- Locate the part, do not force it. The fixture’s job is to define position and resist cutting force, not to flatten the workpiece. If the part has to be squeezed to sit down, the fixture is wrong.
- Vacuum plates for flat, thin work. The load is distributed over the whole face instead of being concentrated where the clamps happen to be.
- Clamp low, near material that can take it, and never on a thin wall or a finished face. Soft jaws machined to the part’s own profile spread the load and stop the part being pinched.
- Less torque than feels right. On thin aluminium, clamping pressure is a distortion source. It should be enough to hold against the cut and no more — which is another argument for lighter radial cuts.
Cause 3: the wall moved away from the cutter
A thin wall is a spring. Push a cutter into it and it deflects, so the wall ends up thicker than the toolpath says — and because deflection is largest where the wall is least supported, it ends up tapered as well: closer to size near the floor, further from size at the top. Take a second pass to correct it and the wall, now thinner, deflects even more.
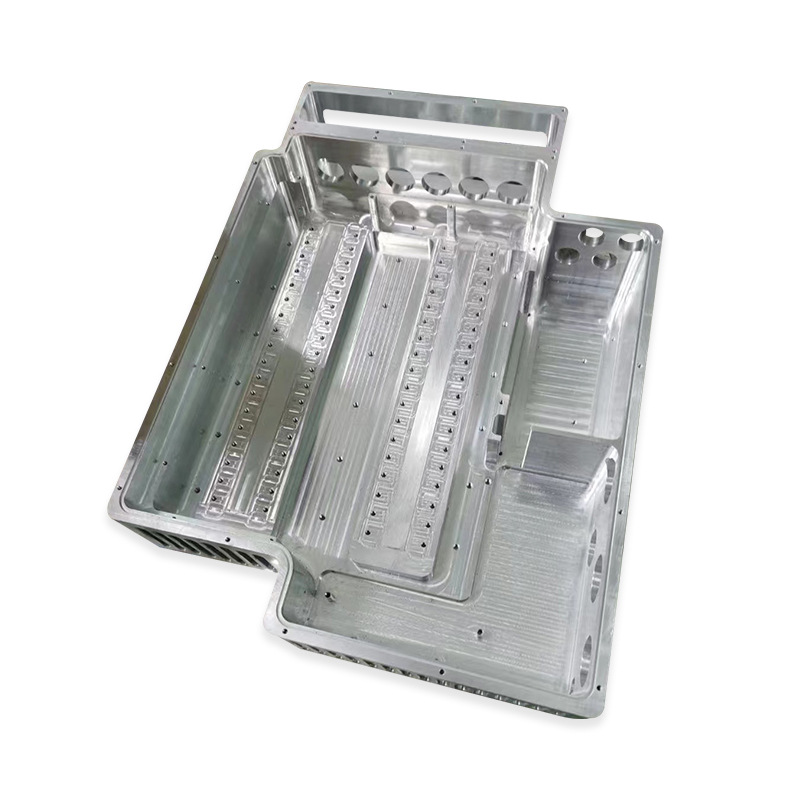
Heat does the same thing in a different direction. Aluminium expands about 23 µm per metre per degree, so a 200 mm part that is 10 °C warm from the cut is roughly 45 µm longer than it will be on the inspection bench. On a part with a tight length tolerance that is the whole tolerance band, spent on temperature.
What actually helps:
| Approach | What to do | Why it works |
|---|---|---|
| Cut the wall in one pass, full depth | Leave 0.2–0.3 mm and remove it with a single light radial pass down the full height | One consistent deflection produces a straight wall. Multiple stepped-down passes produce steps |
| Low radial, high axial | Small stepover, deep engagement, high feed | Cutting force pushes mostly downward into the fixture rather than sideways into the wall |
| Sharp, polished, high-rake cutters | Uncoated or polished-flute aluminium cutters, 2–3 flutes, large gullets | A sharp high-rake edge shears aluminium at far lower force than a general-purpose cutter, and the force is the problem |
| Leave a support rib | Machine the pocket but leave a temporary rib or tab across the opening, remove it last | A 0.6 mm wall braced during roughing behaves like a thick one |
| Climb milling, always | Climb, with a consistent engagement angle | Conventional milling begins each cut by rubbing, which pushes the wall before it cuts it |
| Let it reach room temperature | Measure the part cold, not straight off the machine | Otherwise you are measuring the coolant temperature as much as the part |
How thin is too thin
There is no universal number, because it depends on height as much as thickness — a 1 mm wall 5 mm tall is easy and the same wall 40 mm tall is a different part. The practical guide is the ratio:
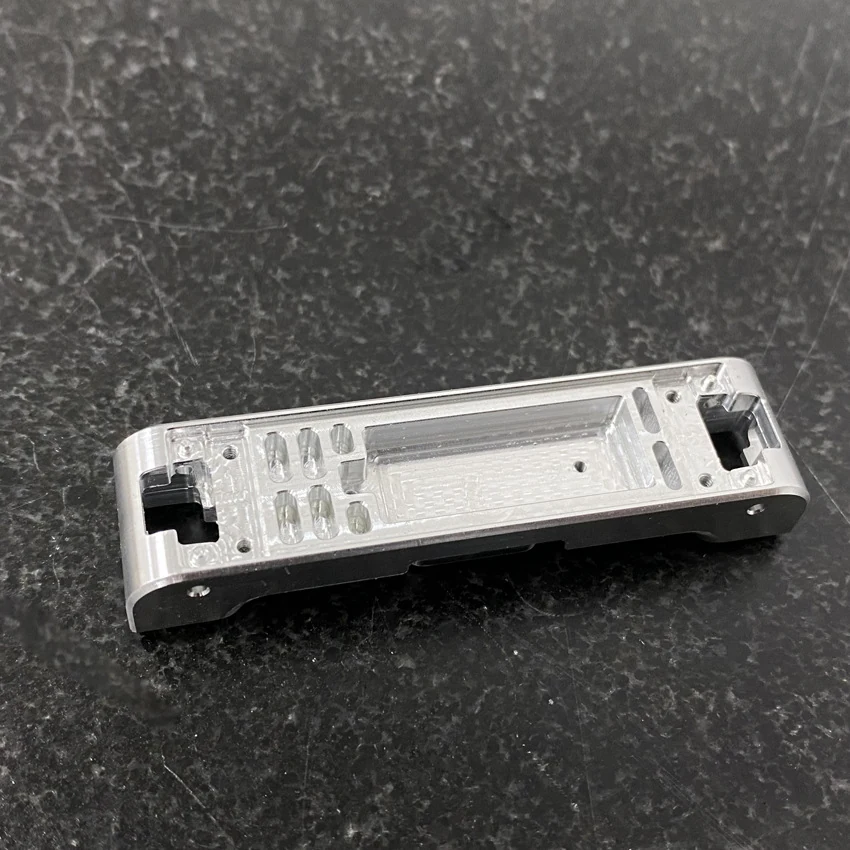
- Wall height under about 10× its thickness is ordinary work and needs no special treatment.
- 10× to 20× needs the single-pass finishing strategy, sharp tooling and careful clamping, and is quotable as normal work by a shop that expects it.
- Over about 20× needs support ribs, a purpose-built fixture, or a redesign — and the honest answer at quotation is that it will cost noticeably more, not that it is impossible.
Floors follow the same logic against their span. A 1 mm floor across a 20 mm pocket is straightforward; the same floor across 150 mm will drum, chatter and finish badly however good the cutter is.
The sequence that works on a real job
For a thin, flat part that must stay flat, this is the order that saves batches:
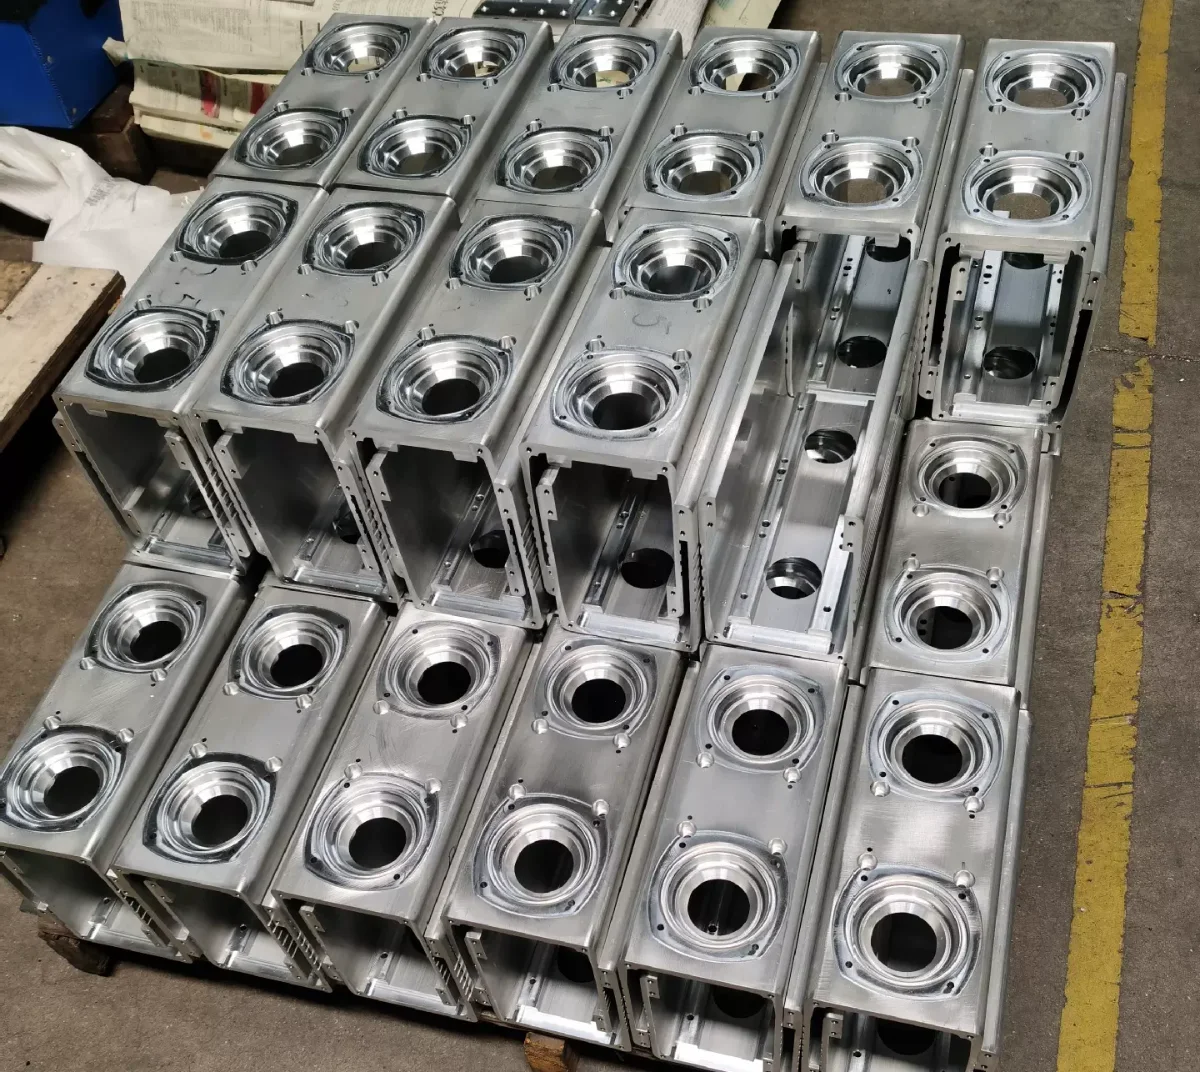
- Rough both faces, alternating, leaving 0.5–1 mm.
- Unclamp completely and let the part sit. Some shops leave it overnight; on most parts a coffee break is enough to see the movement.
- Re-fixture with light pressure — vacuum if it is flat, soft jaws if it is not — without forcing the part down.
- Skim a datum face, then finish everything from that datum.
- Finish walls in one full-depth radial pass; leave any support ribs until last.
- Let the part cool, then measure.
That is one extra setup. On a part that was scrapping half a batch, it is the cheapest operation in the whole process.
Two things worth putting on the drawing
If flatness matters, say so as flatness. A profile or flatness tolerance across a face tells the shop something very different from a ± on a thickness, and it is the flatness callout that makes us plan the stress-relief sequence above. A drawing that only controls thickness invites a supplier to hold thickness and let the part bow.
And if the part will be anodised, remember the coating grows the part: roughly half the coating thickness is added to each surface. On a thin part with a tight fit that matters, and it belongs on the drawing rather than in a phone call after the first article.
What we do with parts like this
We machine thin aluminium housings, plates and frames every week, on 3- and 4-axis centres in Dongguan, and the honest position is this: if your drawing has a thin wall or a flatness callout on a large face, we will raise it before you order rather than after the first article. Sometimes the answer is a different stock. Sometimes it is an extra operation we will quote for. Sometimes it is a rib or a fillet that costs you nothing and removes the problem entirely.
Send a drawing for a free DFM review and you will get the price, the lead time and the two or three things we think will move on that part. If you would rather see how we write up a job that went wrong, our case studies include one we paid for ourselves.